
A Valheim dedicated server keeps a shared Viking world available without requiring one player to keep their game open. Hosting it on a Linux VPS gives you control over the world, access rules, updates and backups. Availability still depends on the VPS, network and server process staying healthy.
A 4GB Linux VPS is a starting budget to evaluate for a small vanilla group, rather than a guaranteed player capacity. Iron Gate's published server guide does not specify a minimum RAM, CPU or disk allocation. Larger builds, world activity and mods can change resource use considerably.
This walkthrough covers an x86-64 Ubuntu 22.04 or 24.04 VPS, SteamCMD installation, the default Steam networking backend, systemd startup, world backups and updates. Run the commands on the VPS you intend to use for Valheim. The examples use a sudo-enabled administrator and a separate valheim account for the game process.
Can you run a Valheim dedicated server with 4GB RAM?
You can evaluate 4GB for a small, unmodded world, but monitor it under your actual workload before inviting a larger group. There is no official 4GB minimum or benchmark behind this guide. Valheim's official FAQ states that servers are capped at 10 players; that cap does not mean a 4GB VPS will comfortably handle all ten.
| Resource | Planning budget or check |
|---|---|
| RAM | 4GB for an initial small vanilla test; measure memory pressure |
| CPU | 2 or more modern vCPUs; compare sustained performance and sharing policy |
| Storage | SSD or NVMe; allow space for server files, worlds and logs |
| Free space | 10GB or more as a starting reserve, then check actual use |
| Operating system | 64-bit x86-64 Ubuntu 22.04/24.04 for these commands |
| Network | Public connectivity and a route tested from players' networks |
| Workload | Small vanilla group; reassess for mods, extensive builds or heavier use |
If RAM repeatedly runs short, an 8GB allocation can provide more headroom, but it will not fix every CPU or networking bottleneck. Compare the actual allocations in our Linux VPS plans and VPS plan overview; the table above is not a description of a specific VPS Malaysia package.
What you need before starting
- An x86-64 Linux VPS, initially budgeted at 4GB RAM, with administrator access and free disk space.
- A public address, SSH access and access to any provider firewall settings.
- A sudo-enabled administrative account; the game account should not have sudo privileges.
- Ubuntu 22.04 or 24.04 and access to its package repositories.
- A compatible copy of Valheim for every player joining, plus a private server password.
- A separate computer or network for the final connection test.
Iron Gate's dedicated-server guide lists libatomic1, libpulse-dev and libpulse0, along with GLIBC/GLIBCXX compatibility requirements. Use the manual shipped with the downloaded server if its requirements change. The commands here do not cover ARM VPS instances or older Linux distributions.
Step 1: connect to your Linux VPS
From your computer, sign in with the administrative account supplied or created for your VPS:
ssh admin@YOUR_SERVER_IPReplace admin and YOUR_SERVER_IP with your actual username and public address. Use SSH keys where available. If your provider initially supplies root access, create and verify a sudo-enabled administrator before changing login settings.
sudo apt update
sudo apt upgrade -y
uname -m
df -h /home
free -h
uname -m should identify an x86-64 system for this guide. Check free disk space and memory before installation. If updates require a reboot, do that before starting the game service and reconnect afterwards.
Step 2: create a separate Valheim user
Keep the game process separate from the administrator account:
sudo adduser --disabled-password --gecos "" valheim
sudo install -d -o valheim -g valheim /home/valheim/server
The account has no password login and does not need membership in the sudo group. Continue using your administrative SSH session. Later commands use sudo -u valheim -H to run the game and SteamCMD as this account with its own home directory.
Step 3: install SteamCMD and Linux packages
Valve's SteamCMD downloads dedicated-server software without a graphical Steam client. On an x86-64 Ubuntu installation, enable the repositories and 32-bit package architecture needed by the Ubuntu SteamCMD package:
sudo apt update
sudo apt install -y software-properties-common nano ufw
sudo add-apt-repository universe -y
sudo add-apt-repository multiverse -y
sudo dpkg --add-architecture i386
sudo apt update
sudo apt install steamcmd libatomic1 libpulse0 libpulse-dev
Read and accept the Steam licence prompt if the installer presents one. These instructions are specific to Ubuntu; Debian and other distributions have different repository rules. SteamCMD's package launcher is /usr/games/steamcmd. If it is missing, finish the package installation before proceeding.
Step 4: download the Valheim dedicated server
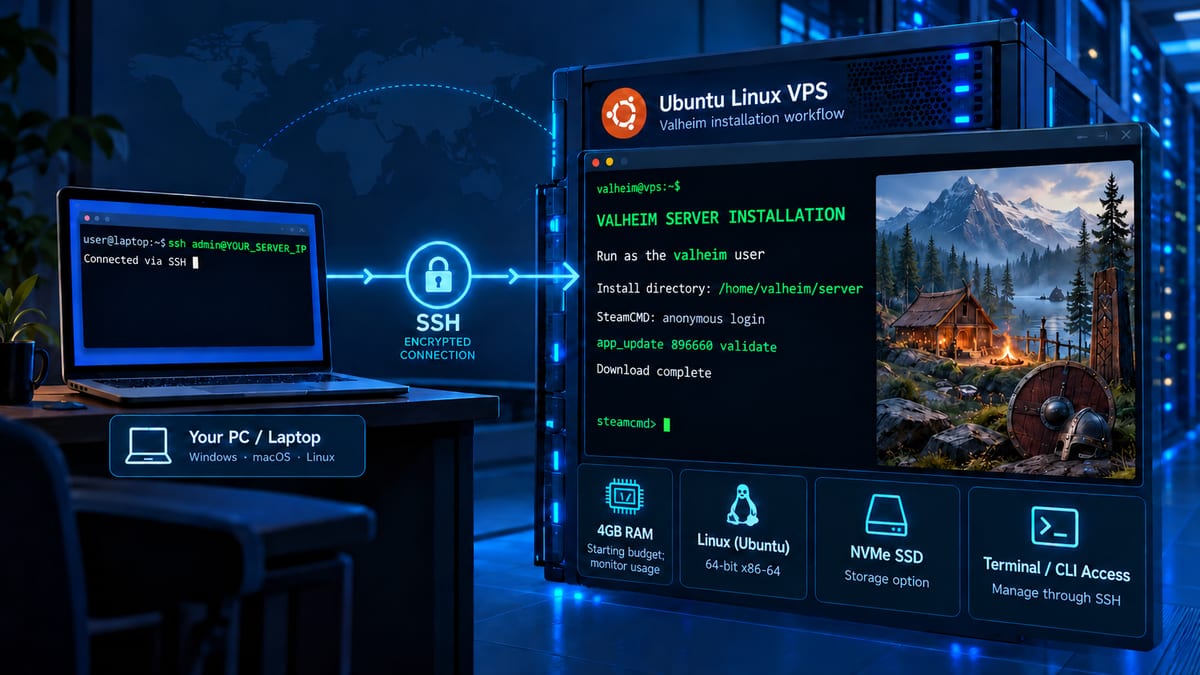
Set the installation directory before logging in to SteamCMD, then download the dedicated-server application:
sudo -u valheim -H /usr/games/steamcmd \
  +force_install_dir /home/valheim/server \
  +login anonymous \
  +app_update 896660 validate \
  +quit
896660 identifies the Valheim Dedicated Server package, not the player client. Confirm that SteamCMD reports a successful installation. You can then inspect the downloaded files:
sudo -u valheim ls -lah /home/valheim/serverLook for start_server.sh, the Linux server executable and the included manual. Executable names or script contents may change between releases; use the launcher supplied with your installed version rather than guessing a binary name.
Step 5: configure your Valheim server
Copy Iron Gate's startup script so a Steam update does not overwrite your custom settings. Keep the copy outside the installation directory:
sudo -u valheim cp /home/valheim/server/start_server.sh /home/valheim/start_valheim.sh
sudo -u valheim nano /home/valheim/start_valheim.sh
Immediately below the script's opening shebang line, add:
cd /home/valheim/server || exit 1Preserve the supplied script's environment exports, executable name and headless options such as -nographics and -batchmode. Edit the existing launch line's server arguments to use your own values. This is an argument fragment, not a replacement for the complete script:
-name "My Valheim Server" -port 2456 -world "Dedicated" -password "REPLACE_WITH_PRIVATE_PASSWORD" -public 1-name: the server's display name.-port: the base port; the Steam backend also uses the next consecutive port.-world: the save-world name, which should stay consistent across restarts.-password: your own private joining password. Replace the placeholder and keep it out of shared screenshots and repositories.-public 1: list the server publicly.-public 0hides the listing and allows joining by address; it is not a substitute for access controls.
Save the file, then restrict its permissions because it contains the password:
sudo chmod 700 /home/valheim/start_valheim.shAfter major updates, compare the new stock script with your copy and carry over any required launcher changes while preserving your settings.
Step 6: open the Steam backend firewall ports
Iron Gate documents UDP 2456 and 2457 for the default Steam backend. If you change the base port, allow that port and the next one. A directly addressed VPS usually needs firewall rules rather than home-router forwarding; NAT-based setups may need both.
Before enabling UFW, verify the actual SSH port and keep a second SSH session or provider console available. The OpenSSH profile normally permits TCP 22; if you use a custom SSH port, allow that port instead. Do not replace existing firewall policy on a shared server.
sudo ufw allow OpenSSH
sudo ufw allow 2456:2457/udp
sudo ufw status verbose
sudo ufw enable
sudo ufw status verbose
Confirm a new SSH session can connect after enabling the firewall. Add the same game-port rules to any provider security group or network firewall. See Ubuntu's firewall documentation for UFW details. Crossplay has a different connection path, covered below.

Step 7: start the server and test a connection
Run your custom script in the foreground for the first test:
sudo -u valheim -H bash /home/valheim/start_valheim.shAllow time for initial world creation. Iron Gate identifies the Game server connected message as the readiness signal. Check the output for errors, then try joining from a separate Valheim client using the public address and configured port or server list. A local process alone does not prove that outside players can connect.
Press Ctrl+C to shut down this test cleanly before starting the systemd service. Do not run two instances against the same world or port pair.
Step 8: run Valheim automatically with systemd
From your administrative SSH session, create a service file:
sudo nano /etc/systemd/system/valheim.service[Unit]
Description=Valheim Dedicated Server
After=network-online.target
Wants=network-online.target
[Service]
User=valheim
Group=valheim
WorkingDirectory=/home/valheim/server
ExecStart=/usr/bin/bash /home/valheim/start_valheim.sh
Restart=on-failure
RestartSec=10
KillSignal=SIGINT
TimeoutStopSec=300
[Install]
WantedBy=multi-user.targetThis service runs as the game account, restarts after a failure and requests an interrupt for a clean shutdown. The stop timeout allows time for saving; increase it if your world needs longer. This service example is our Linux operating setup, rather than a unit file supplied by Iron Gate. The systemd service manual explains the options.
sudo systemctl daemon-reload
sudo systemctl enable --now valheim
sudo systemctl status valheim --no-pager
sudo journalctl -u valheim -n 100 --no-pager
An active service means its process is running; also check the readiness log and an outside connection. On a planned reboot, verify the service returns successfully. Automatic startup does not guarantee uninterrupted availability.
Step 9: enable crossplay if your players need it
Add -crossplay to the existing launch line in /home/valheim/start_valheim.sh, then restart the service. Without it, the server uses the Steam backend. With it, Iron Gate's crossplay guidance describes joining across supported platforms.
The official server manual says crossplay uses a relay, so traditional router port forwarding is not required. It supports joining by public address and port, join code or server list; local and loopback addresses cannot be used for this backend. Keep required outbound connectivity available and test the connection method your players will use.
sudo systemctl restart valheim
sudo journalctl -u valheim -n 100 --no-pager
How to optimise Valheim on a 4GB VPS
Measure resource use during a representative session, including busy areas and world saves. Use:
free -h
top
df -h /home
sudo journalctl -u valheim -n 100 --no-pager- Keep the VPS minimal, without a desktop environment or unrelated memory-heavy services.
- Watch available memory and swapping, rather than treating cached memory as a problem by itself.
- Use SSD/NVMe storage and reserve room for saves, logs, updates and backups.
- Test vanilla first. Mods add maintenance and workload uncertainty and are not officially supported by Iron Gate.
- Apply OS and game updates during planned maintenance windows.
- Investigate CPU pressure, network loss and memory exhaustion separately before buying more resources.
- If the game repeatedly exhausts RAM, reduce competing workloads or upgrade the memory allocation.
A small swap allocation may help with an emergency memory spike, but sustained swapping can cause stalls. It does not replace enough physical RAM for the active workload. The infographic's resource figures below are illustrative, not measurements from a VPS Malaysia plan.

Choose a route that works for Malaysian players
If your group is mainly in Malaysia or nearby Southeast Asian countries, compare the provider's available locations and test routes from the networks those players use. Distance, routing and congestion all affect latency; a regional label alone does not establish a ping result. Port speed and player latency are different measurements.
Before choosing a plan, confirm the CPU allocation, RAM, transfer allowance, administrator access, backup options and any applicable DDoS coverage. Our hosted-games guide provides broader game-hosting context. For help comparing a specific workload with current plans, contact the VPS Malaysia team.
Back up your Valheim world
The default Linux save location is /home/valheim/.config/unity3d/IronGate/Valheim for the account used here. If you add -savedir, back up that chosen location instead. Preserve world data and permission files, and keep the exact world name with your restore notes.
The server manual documents a default save interval of 1,800 seconds and configurable built-in backups using -backups, -backupshort and -backuplong. Those local copies are useful, but they do not protect against losing the whole VPS.
For an additional timestamped backup, stop the service cleanly before copying the save directory:
sudo install -d -m 700 -o valheim -g valheim /home/valheim/backups
sudo systemctl stop valheim
sudo -u valheim tar -czf "/home/valheim/backups/valheim-$(date -u +%Y%m%dT%H%M%SZ).tar.gz" \
  -C /home/valheim/.config/unity3d/IronGate Valheim
sudo systemctl start valheim
Check that the archive was created successfully and the service returns to a ready state. If a command fails, investigate rather than assuming the backup exists. Copy important archives to separate storage, restrict access and set retention so backups do not fill the disk. Schedule external backups after the first successful manual run, then test restoration on a separate stopped instance. Avoid extracting a backup over a running world.
How to update a Valheim dedicated server
Notify players and create a current backup before an update. Stop the service, run SteamCMD as the game account, then restart:
sudo systemctl stop valheim
sudo -u valheim -H /usr/games/steamcmd \
  +force_install_dir /home/valheim/server \
  +login anonymous \
  +app_update 896660 validate \
  +quit
sudo systemctl start valheim
sudo journalctl -u valheim -n 100 --no-pager
Confirm the download succeeds before restarting and check that clients use a compatible game version. Validation can overwrite stock files, which is why your custom launcher is kept outside the installation directory. Review changes in the supplied launcher and manual after updates. Do not schedule blind updates during an active session.
Common Valheim server problems
The server does not appear in the list
Check -public 1, the selected backend, readiness logs and network rules. Try the public address from an outside client to separate a listing problem from a connection problem. A hidden server with -public 0 is intentionally absent from the public list.
Players cannot connect
Verify the address and configured port. For the Steam backend, check both UDP ports in UFW and the provider firewall. For crossplay, use a supported public-address, join-code or list connection. Confirm compatible client/server versions and inspect the log.
sudo ufw status verbose
sudo systemctl status valheim --no-pager
sudo journalctl -u valheim -n 100 --no-pager
The process runs out of RAM
Inspect memory pressure with free -h and look for out-of-memory messages in the system journal. Remove unrelated workloads, retest without mods and increase memory if measured use requires it. The 10-player limit is not a hardware sizing guarantee.
The server stops after an update
Read the service log first. Check dependency errors, the executable name, your copied launch script and file ownership. If files are missing or corrupt, stop the service and repeat SteamCMD validation. Do not edit away an error without understanding it.
A different world appears after restarting
Check the -world name, the user account and any -savedir option. Running once as root and later as valheim can point at different home directories. Restore only after you have identified the intended save files and made a separate backup.
Final thoughts
A small vanilla world can start with a 4GB Linux VPS budget and grow according to measured use. Keep the game under its own account, preserve the stock launcher's required environment, test connectivity, use systemd for startup and maintain off-server world backups. Revisit the allocation as your world and group become more demanding.
Compare Linux VPS hosting options against the workload you have measured. If you are also exploring other community servers, our FiveM Windows/Linux setup guide covers a different game's tooling; its requirements should not be substituted for Valheim's.
Sources and review details
- Iron Gate: dedicated-server manual — startup options, Linux libraries, backend networking, saves and backups.
- Valheim official FAQ — player cap, persistent servers and mod support.
- Iron Gate: crossplay FAQ — supported connection methods.
- Valve Developer Community: SteamCMD — downloading and updating server applications.
- Ubuntu: firewall documentation and systemd service documentation — operating-system configuration.
Written by Kaif, Content Operations Executive at VPS Malaysia. Documentation reviewed on 30 September 2026. This is a documentation-based walkthrough, not a reported 4GB performance benchmark. The resource suggestions and artwork are planning aids; the current manual shipped with the server takes precedence when software changes.