When managing your website or blog, choosing the best WordPress hosting is the first and most important step to achieving success online. Once your hosting foundation is secure, you can focus on building a consistent and efficient content strategy. One of the best tools for organizing and managing your content workflow is CoSchedule, which is a powerful marketing calendar and content management tool that helps bloggers, marketers, and businesses plan, schedule, and publish content efficiently. When combined with a high-performance hosting solution from VPS Malaysia, you can maximize your WordPress site’s speed, reliability, and productivity.
This article explains how to install and set up CoSchedule for WordPress hosting, along with practical tips to get the most out of your hosting environment.
1. What Is CoSchedule and Why You Should Use It
CoSchedule is an all-in-one marketing management platform that integrates seamlessly with WordPress. It helps you organize your blog posts, social media updates, email marketing, and campaigns from a single, easy-to-use calendar.
Here’s why many WordPress site owners choose this plugin:
- Centralized calendar: Manage all your blog posts, social campaigns, and tasks from one dashboard.
- Improved collaboration: Assign tasks to team members and track project progress.
- Automated social media sharing: Schedule posts automatically across multiple platforms.
- Content performance tracking: Analyze how your posts perform and optimize future strategies.
By using it on Linux VPS hosting from VPS Malaysia, you can ensure fast response times, minimal downtime, and high security — three key factors for managing a smooth editorial process.
2. Benefits of Pairing CoSchedule with VPS Malaysia Hosting
Before diving into the installation steps, it’s important to understand why pairing CoSchedule with VPS Malaysia’s hosting services creates such a powerful combination.
- Speed and stability: Fast hosting means your plugin loads quickly and syncs without delays.
- Security: VPS Malaysia’s advanced security features protect your data and prevent unauthorized access.
- Scalability: Easily upgrade resources as your content team or traffic grows.
This reliable foundation makes it easier to manage WordPress plugins.
3. Pre-Installation Requirements
Before installing it on your WordPress website, ensure the following requirements are met:
- Reliable Hosting Provider: Choose a hosting provider like VPS Malaysia that supports WordPress and offers excellent uptime and support.
- Updated WordPress Version: Always keep your WordPress installation updated for plugin compatibility.
- Active Account: Create a CoSchedule account and retrieve your API key, which you will use to connect to WordPress.
- Administrator Access: Ensure you have admin privileges to install plugins and adjust site settings.
With these basics covered, you’re ready to begin installing CoSchedule.
4. Step-by-Step Guide to Installing CoSchedule for WordPress
Step 1: Log in to Your WordPress Dashboard
Log in to your WordPress admin panel using your credentials. If your site is hosted with VPS Malaysia, you’ll enjoy quick access and smooth navigation thanks to their optimized WordPress environments.
Step 2: Install the CoSchedule Plugin

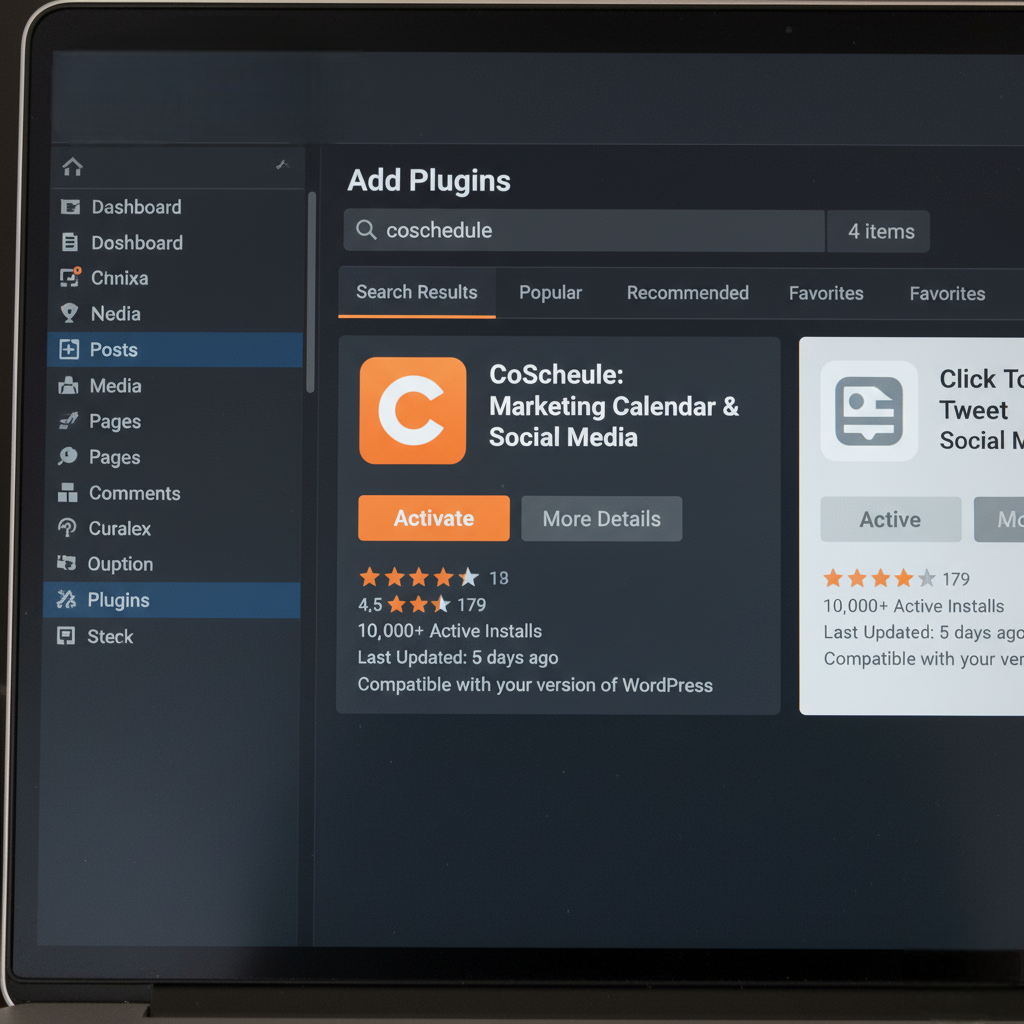
- From your WordPress dashboard, go to Plugins > Add New.
- Search for CoSchedule in the plugin search bar.
- Click Install Now, then click Activate after installation.
Once activated, the plugin becomes accessible in your WordPress admin menu.
Step 3: Connect CoSchedule to Your WordPress Account

- Go to CoSchedule → Settings in your WordPress dashboard.
- Click Connect Your Account and log in with your CoSchedule credentials.
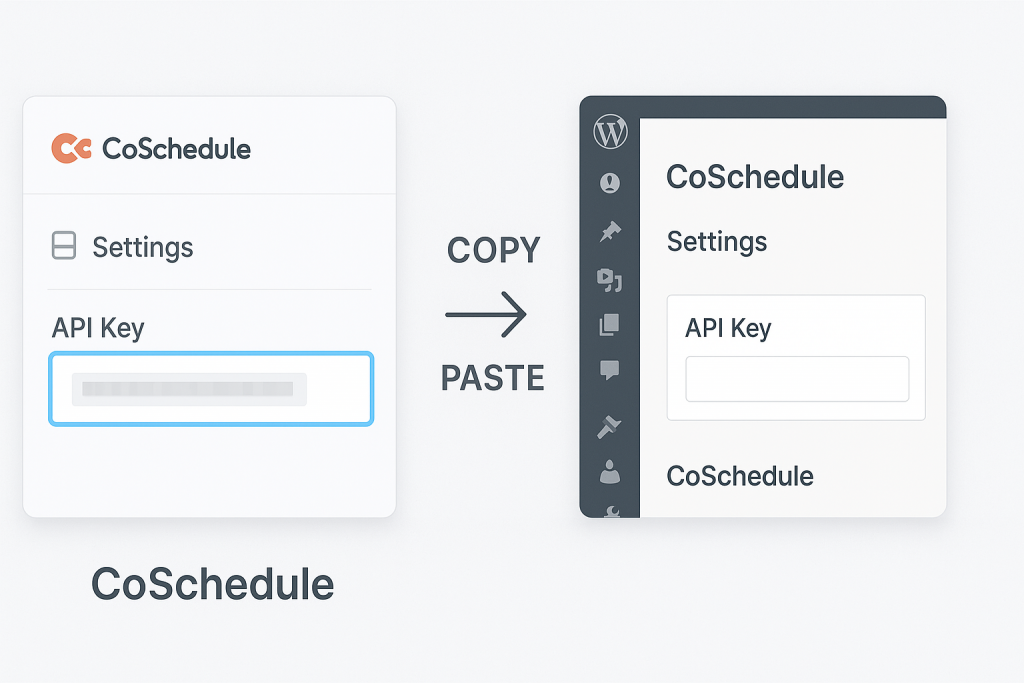
- Copy your CoSchedule API key from your account page.
- Paste the API key into WordPress and click Save Settings.
Your WordPress website is now linked to your CoSchedule calendar, allowing your posts and tasks to sync automatically.
Step 4: Configure Your CoSchedule Calendar

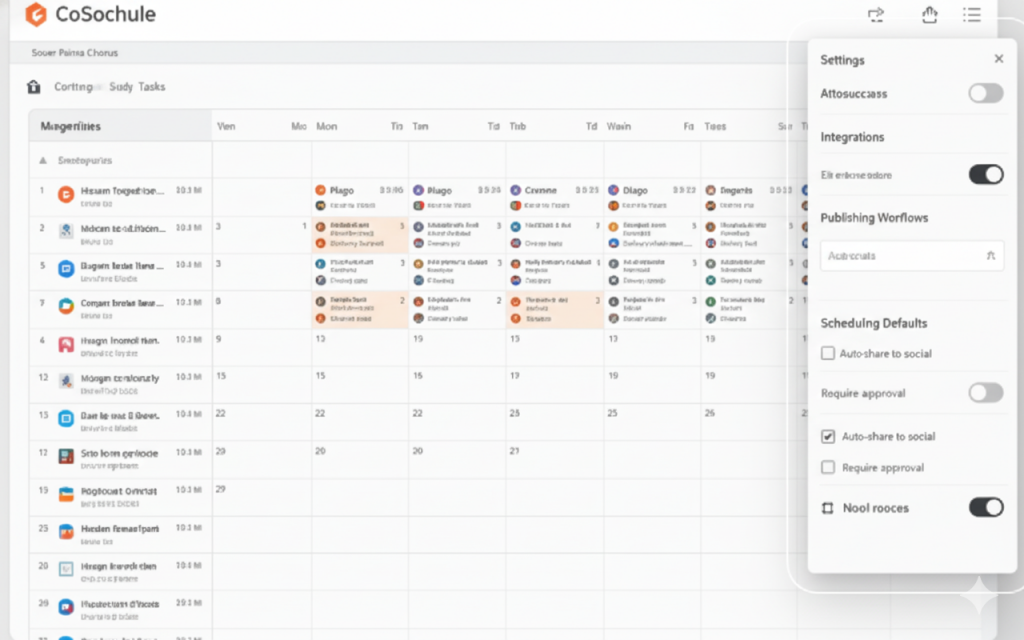
Once connected, navigate to CoSchedule → Calendar in WordPress. You can now view and manage all upcoming posts, tasks, and campaigns in one centralized location.
The drag-and-drop interface makes it easy to adjust publishing dates, assign tasks, and manage workflows for your team. This calendar syncs with your online dashboard in real-time, ensuring your schedule stays organized.
Step 5: Set Up Social Media Integrations
CoSchedule integrates with major social media platforms such as Facebook, Instagram, LinkedIn, and X. To set this up:
- Go to CoSchedule → Social Profiles.
- Click Add Profile and select your preferred platform.
- Authorize access to allow CoSchedule to manage your social accounts.
- Configure posting schedules and templates for each channel.
This integration enables automatic sharing of your blog posts as soon as they’re published, saving time and maintaining consistent social activity.
Step 6: Assign Roles and Permissions
For teams, its collaboration features allow you to assign roles such as authors, editors, and managers. You can delegate tasks, approve drafts, and track progress directly from the WordPress dashboard.
When hosted with VPS Malaysia, your collaboration is supported by secure infrastructure and data protection policies, ensuring your projects remain private and efficient.
Step 7: Schedule and Publish Your First Post
- Go to Posts → Add New in WordPress.
- Write and format your content as usual.
- In the CoSchedule section, set your publishing date and assign any related social shares.
- Save or schedule the post according to your marketing plan.
Your post will appear in the CoSchedule calendar and will automatically trigger social sharing when published.
5. Optimizing CoSchedule Performance
This plugin runs best on reliable and optimized hosting environments. Here are a few performance tips:
- Choose high-performance hosting: Your site’s load speed is directly affected by your hosting. VPS Malaysia offers WordPress-optimized environments that support smooth plugin operation.
- Use caching: Implement caching plugins like W3 Total Cache to reduce server load.
- Regular updates: Keep your plugins and themes up to date for security and compatibility.
- Monitor resource usage: VPS Malaysia provides monitoring tools to help track CPU and RAM usage for better stability.
- Automate backups: VPS Malaysia includes daily backups to protect your data and ensure quick recovery.
6. Troubleshooting Common CoSchedule Issues
If you experience problems, here are quick solutions:
- Connection Errors: Verify that your API key is correct and check your firewall settings.
- Calendar Sync Issues: Clear your cache and refresh the CoSchedule dashboard.
- Social Media Authorization Problems: Reconnect and reauthorize your accounts through the settings.
With VPS Malaysia’s support team available 24/7, any technical issue can be resolved quickly.
7. Why VPS Malaysia Is Perfect for WordPress and CoSchedule
The success of this plugin depends on reliable hosting. That’s where VPS Malaysia stands out with tailored solutions for every type of user:
- Linux VPS Hosting: Ideal for developers and agencies needing flexibility and performance.
- Windows VPS Provider: Best for users running Windows-based applications.
- VPS Hosting for Forex: Built for traders who require speed and minimal latency.
- Dedicated Hosting in Malaysia: Designed for enterprises needing full control, privacy, and scalability.
By combining CoSchedule’s organization tools with VPS Malaysia’s infrastructure, you get a high-performance WordPress environment that enhances productivity and reliability.
8. Final Thoughts
Choosing the best WordPress hosting is not just about having a fast website. It’s about building a strong foundation that supports your entire digital strategy. This plugin helps you organize your marketing efforts, while VPS Malaysia ensures your website remains secure, fast, and reliable.
Whether you are managing a blog, running an eCommerce site, or operating a digital agency, combining CoSchedule with VPS Malaysia’s hosting gives you the complete package for performance and success.
If you are ready to improve your content workflow, enhance site reliability, and achieve more with your WordPress site, contact VPS Malaysia today to discover hosting plans designed for speed, scalability, and success.


Leave a Reply