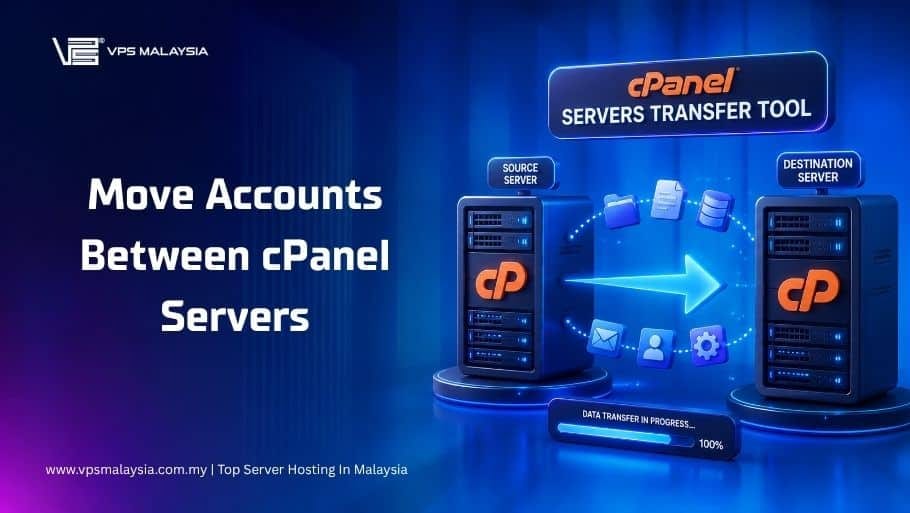
Migrating hosting accounts from one server to another is one of the most common tasks a system administrator or web host faces — whether you're upgrading hardware, switching data centers, or onboarding clients from a competing provider. cPanel's built-in Transfer Tool makes this process far less painful than it used to be, allowing you to migrate full accounts, including files, databases, email, and DNS configurations, with minimal downtime and no manual packing of tarballs.
This guide walks you through everything you need to know to execute a clean, successful account migration using the cPanel Transfer Tool.
1. What the Transfer Tool Actually Does
Before diving into the steps, it's worth understanding what's happening under the hood. When you initiate a transfer through WHM (WebHost Manager), the destination server connects to the source server — either via SSH or through a cPanel-to-cPanel connection — and pulls a full cPanel backup of the specified account. That backup is then restored on the destination server.
The transfer includes:
- All website files and directories under the account's home directory.
- MySQL/MariaDB databases and database users.
- Email accounts, forwarders, filters, and autoresponders.
- DNS zone files.
- Cron jobs and FTP accounts.
- SSL certificates (in most cases).
- Subdomains and addon domains.
What it does not handle automatically is DNS propagation. After the transfer, you'll still need to update nameservers or A records to point traffic to the new server — but more on that later.
2. Prerequisites Before You Begin
A smooth migration starts with preparation. Before you launch the Transfer Tool, run through this checklist.
- Access Requirements: You need root SSH access or WHM access to the destination server. For the source server, you need either root SSH credentials, a WHM username and password, or a cPanel username and password (for single-account transfers). The Transfer Tool supports all three authentication modes.
- Disk Space: Ensure the destination server has enough free disk space to accommodate the accounts you're moving. A good rule of thumb is to have at least twice the disk usage of the source account available, since a temporary copy is created during the restoration process.
- Compatible cPanel Versions: While cPanel maintains reasonable backward compatibility for transfers, migrating from a significantly older version to a much newer one can occasionally cause issues. Check that both servers are running reasonably current cPanel releases. Transfers from cPanel 11.30 and above are generally supported by modern destination servers.
- Firewall Rules: The destination server needs to be able to reach the source server on port 22 (SSH) or port 2087 (WHM). If there's a firewall on the source server, whitelist the destination server's IP address before proceeding.
- Notify Your Clients: If the accounts being moved belong to customers, give them advance notice. Even with a smooth migration, there will typically be a short window of DNS propagation that affects access.
3. Step 1 — Log Into WHM on the Destination Server
All transfer operations are initiated from the destination server — the one you're moving accounts to. Log into WHM using your root credentials:
https://your-destination-server-ip:2087
Once inside WHM, navigate to Transfers in the left-hand menu, then click Transfer Tool. If you don't see the Transfers section, use the search bar at the top and type "Transfer Tool."
4. Step 2 — Enter Source Server Credentials
The Transfer Tool will present you with a form to configure the connection to your source server. You have several options here.
- Remote Server Address: Enter the IP address or hostname of the source server. Using the IP address is generally safer if DNS for the source server might be affected during the migration.
- Login Method: Choose how you want to authenticate:
- Root SSH Access — the most powerful option, allows migration of any account on the source server.
- WHM User/Password — useful if you have reseller-level WHM access but not root.
- cPanel User/Password — limits you to transferring only that specific account, but works if root is unavailable.
- SSH Port: If the source server runs SSH on a non-standard port (anything other than 22), specify it here.
Once you've entered your credentials, click Fetch Account List (or the equivalent button in your version of WHM). The Transfer Tool will connect to the source server and retrieve a list of cPanel accounts available for transfer.
5. Step 3 — Select Accounts to Transfer
After the account list loads, you'll see each cPanel username alongside its domain, disk usage, and package assignment. Select the accounts you want to migrate. For bulk migrations, there's a "Select All" checkbox, though for first-time transfers it's wise to test with one or two accounts before moving everything.
Pay attention to disk usage at this stage. Accounts with large databases or media libraries will take considerably longer, and you don't want to kick off a 50GB transfer right before a maintenance window closes.
6. Step 4 — Configure Transfer Options
Below the account list, you'll find several important configuration options that govern how the transfer behaves.
- Overwrite Existing Data: If an account with the same username already exists on the destination server, cPanel will ask whether to overwrite it. Leave this disabled unless you're intentionally re-migrating an account.
- Transfer or Restore: You'll choose between "Transfer" (live pull from the source server) and "Restore" (upload a backup file you already have locally). For most migrations, you'll use Transfer.
- Service Configuration: You can choose which components to include in the transfer — files, MySQL databases, email, etc. In most cases, you'll want everything, but selectively excluding email can speed things up for large accounts where mail isn't being moved.
- IP Address Handling: The destination server will assign the account to its own shared IP (or a dedicated IP if you configure one). This is expected behavior — the domain will resolve to the new IP once DNS is updated.
7. Step 5 — Initiate the Transfer
Once everything looks right, click Copy (or Transfer depending on your WHM version) to begin. cPanel will open a live log output showing the progress of the transfer in real time.
Watch this log carefully. You'll see status messages for each component — file copy, database restoration, DNS zone import, and so on. Errors appear in red and are usually self-explanatory. Common issues at this stage include:
- Insufficient disk space — free up space on the destination server and retry.
- MySQL user conflicts — if a database user with the same name exists for a different account, cPanel will attempt to rename it.
- Permission errors — usually resolved by ensuring the SSH key or password is correct and the source server's firewall isn't blocking the connection
For large accounts, the transfer can take anywhere from a few minutes to several hours. Avoid interrupting the process once started.
8. Step 6 — Verify the Transferred Account
Once the transfer completes, log into WHM on the destination server and navigate to List Accounts. The migrated account should appear there. Next, log into the cPanel account itself and verify:
- Files are present in the File Manager.
- Databases exist and contain data (check via phpMyAdmin).
- Email accounts are intact under Email Accounts.
- Subdomains and addon domains are configured correctly.
It's also worth spinning up a browser and previewing the site using a hosts file override (editing your local /etc/hosts or C:\Windows\System32\drivers\etc\hosts to point the domain to the new server's IP) before touching DNS. This lets you confirm the site loads correctly without affecting live traffic.
9. Step 7 — Update DNS and Finalize
With the account verified and working on the destination server, it's time to cut over DNS. Update the domain's nameservers or A record to point to the new server's IP address. DNS propagation typically takes anywhere from a few minutes to 48 hours depending on the TTL values set on the old records.
A useful strategy is to lower the TTL on the domain's DNS records to 300 seconds (5 minutes) well in advance of the migration — ideally 24 to 48 hours beforehand. This ensures that once you make the switch, propagation is nearly instantaneous.
Keep the source account intact for at least 48–72 hours after DNS has propagated. If any issues surface post-migration, having the original data still accessible on the source server is an invaluable safety net.
10. Common Pitfalls and How to Avoid Them
- Email Disruption During Propagation: Email sent to the domain during the DNS propagation window may land on either the old or new server. To minimize loss, consider migrating email first using IMAP sync tools, or schedule the DNS cutover during a low-traffic period.
- MySQL Version Mismatches: Moving from a server running MySQL 5.7 to one running MySQL 8.0 (or MariaDB 10.x) can cause compatibility issues, particularly with older applications that use deprecated SQL syntax. Test database-driven applications thoroughly after migration.
- PHP Version Differences: The destination server may have a different default PHP version or a different set of PHP extensions enabled. Check the application's PHP requirements and configure MultiPHP in WHM accordingly.
- Large Mail Spool Files: Accounts with thousands of emails can dramatically slow down transfers. If mail isn't critical, consider excluding it from the initial transfer and migrating it separately using an IMAP migration tool like imapsync.
11. Final Thoughts
The cPanel Transfer Tool has matured into a reliable, production-grade migration system that handles the heavy lifting of account-level moves with relatively few surprises. The key to a successful migration is preparation: verify credentials, confirm disk space, check firewall rules, and always test the transferred account before updating DNS.
For high-stakes migrations — large databases, complex multi-domain setups, or mission-critical applications — always schedule the transfer during off-peak hours, maintain a rollback plan, and give yourself more time than you think you'll need. With careful planning and the Transfer Tool doing the bulk of the work, what used to be a days-long manual process can typically be completed in an afternoon.